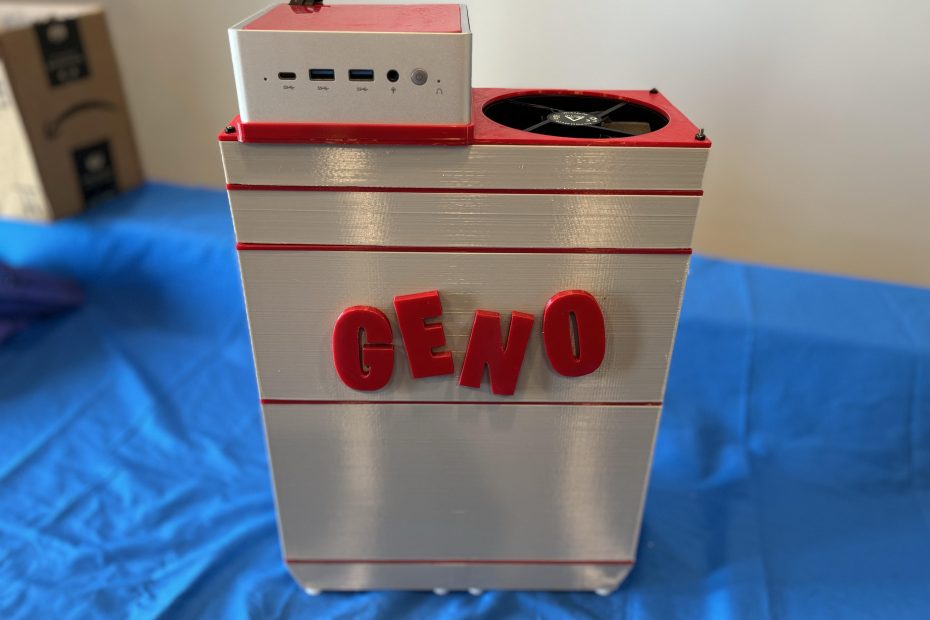
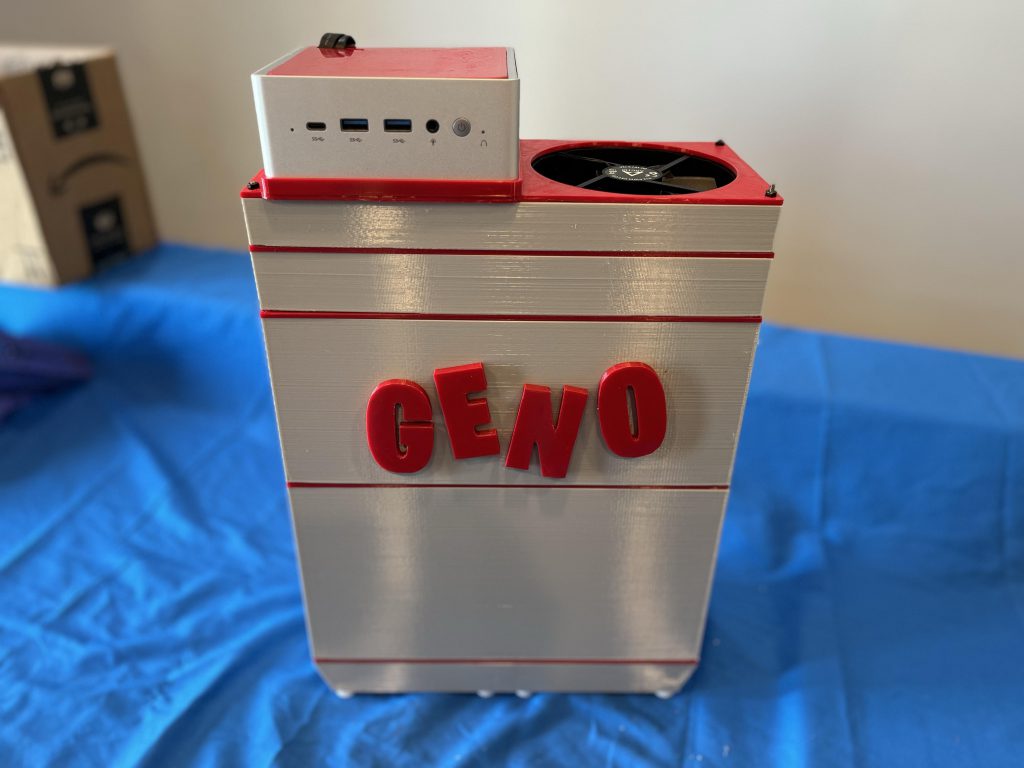
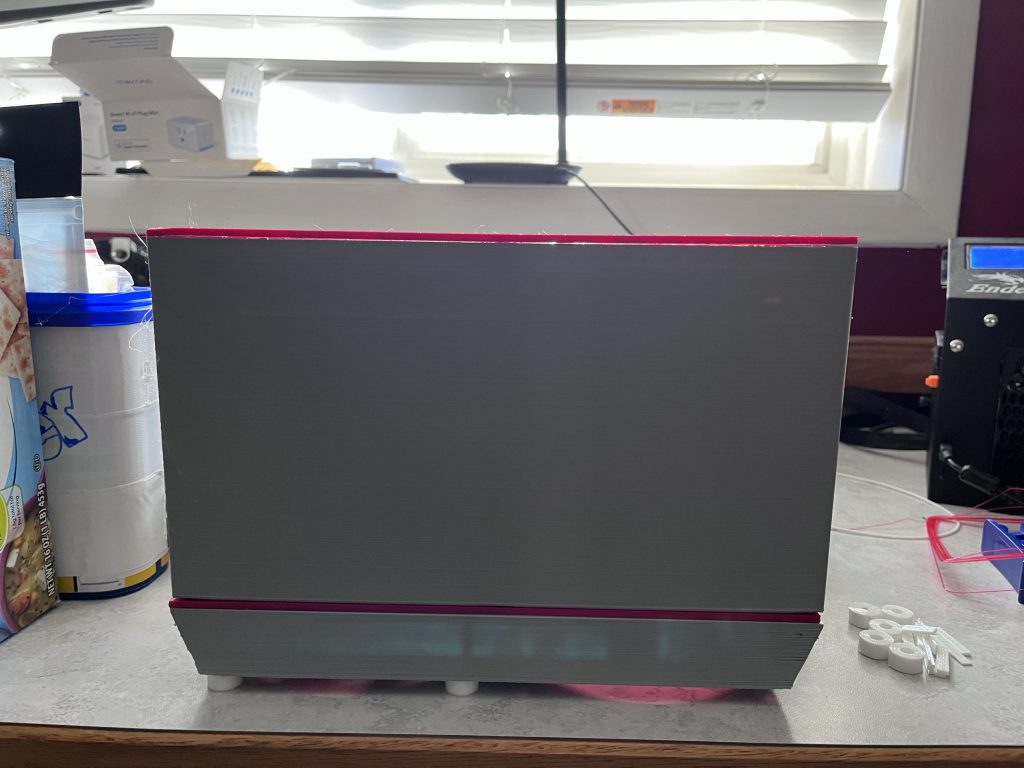
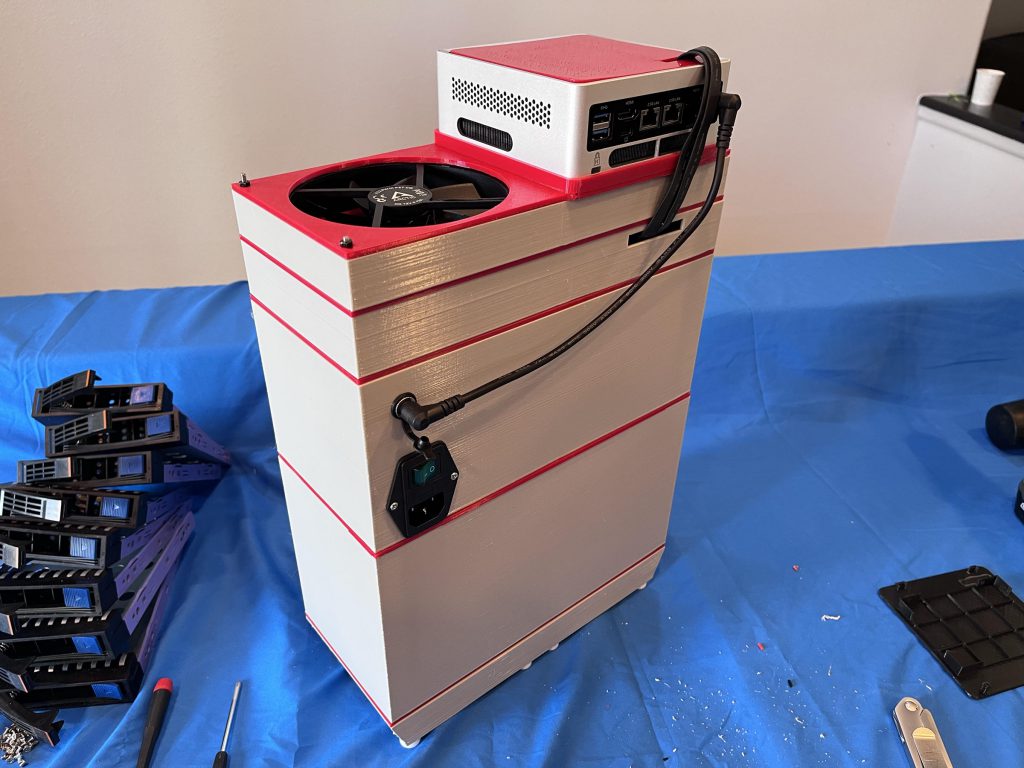
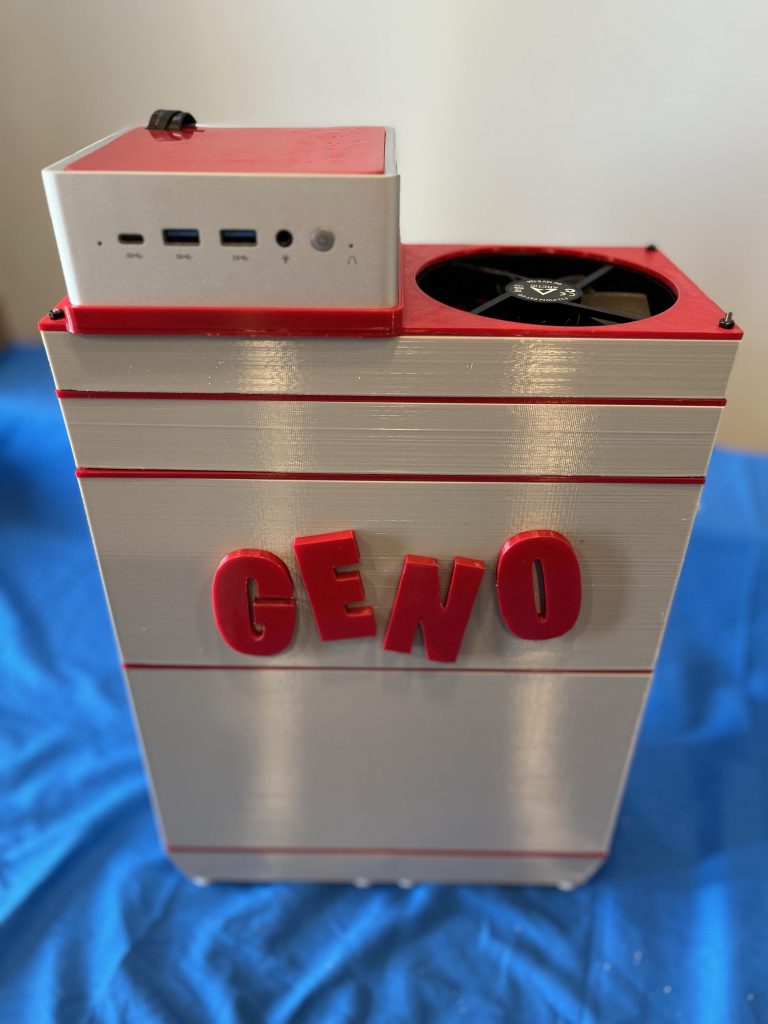
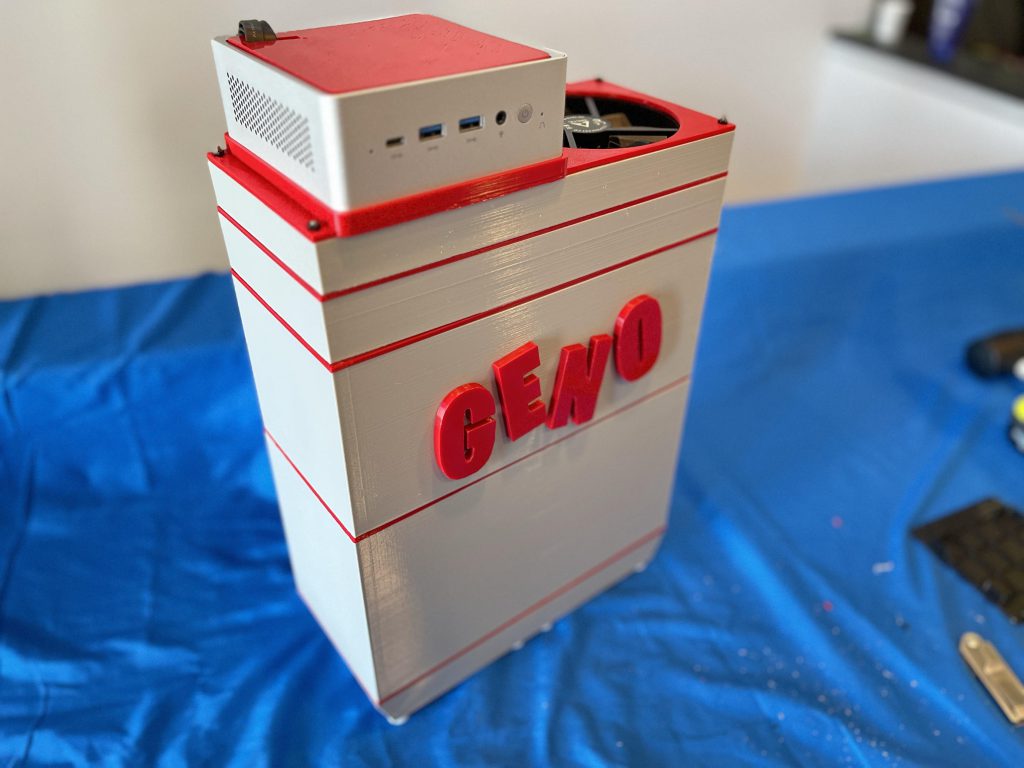
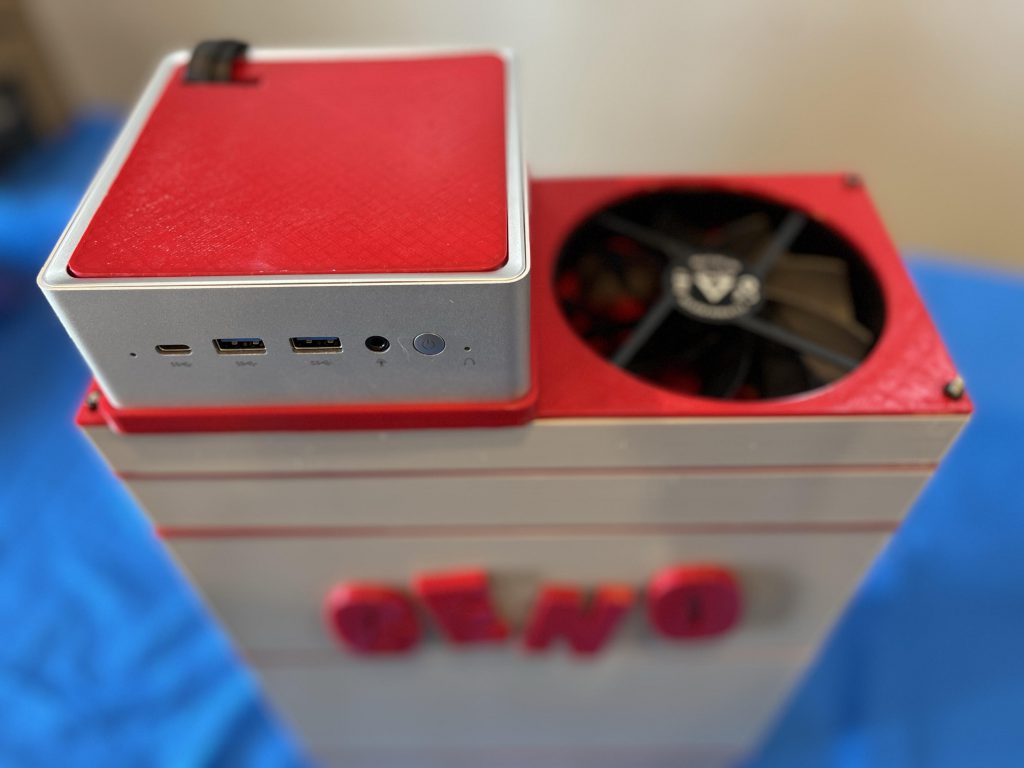
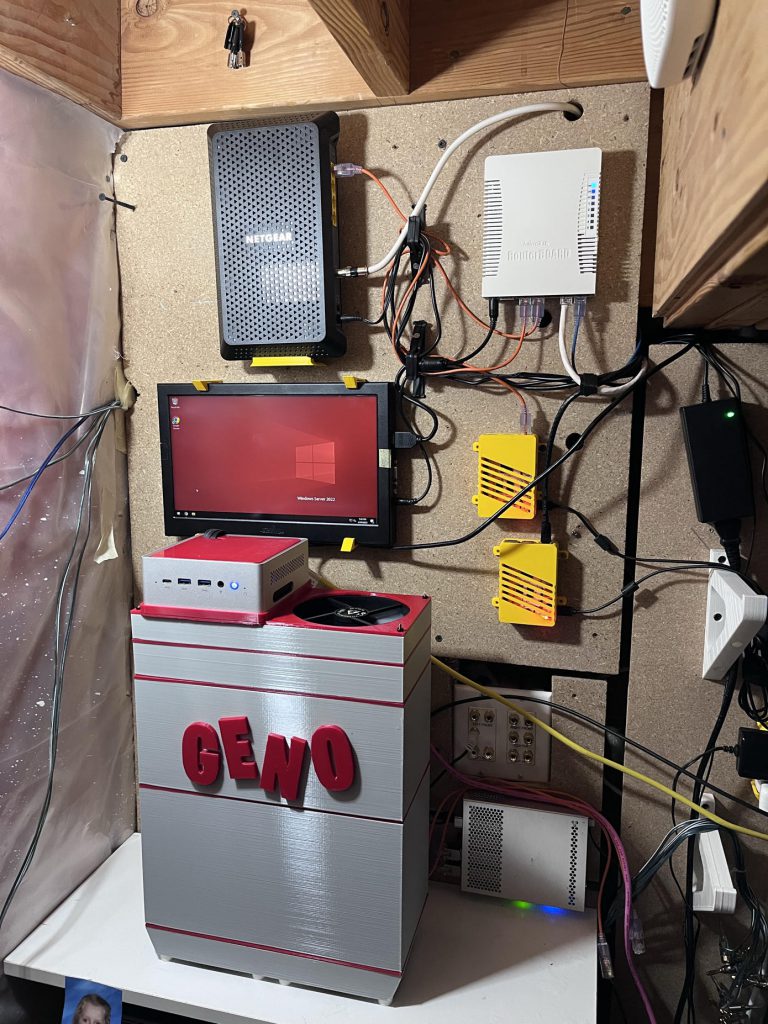
Introducing… Geno.
As a bonus feature, this build comes with the following flaws (free of charge!):
- It’s about $150-$200 to build.
- Getting at the drives after build requires a relatively inconvenient teardown.
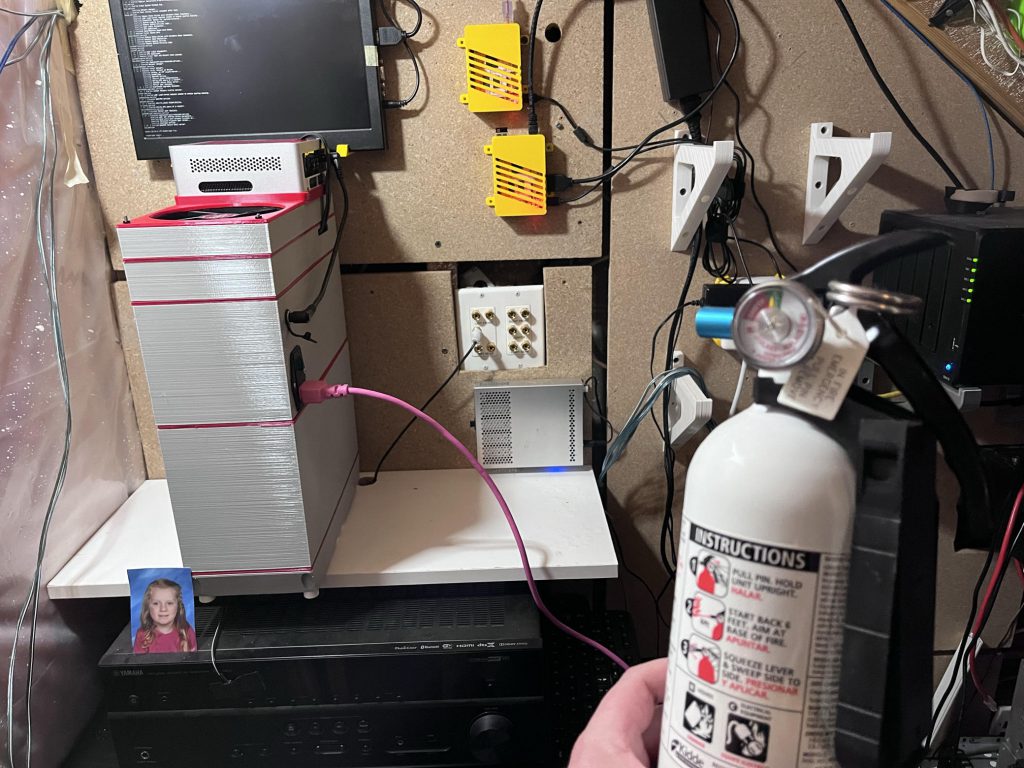
- Open fan layout = Not kid or pet friendly.
However, here are some awesome features that are more difficult to find in a conventional setup:
- This thing sips power compared to using a conventional setup. (Currently measuring week long test)
- Highly consolidated mass.
- Airtight wind tunneling means excellent temperatures that keep this project PLA safe.
- Minimal screws / nuts required; Everything is an M3 sized screw (including the 350mm rods in the corners).
- The hard drives are louder than the rest of the build (it’s basically silent).
Why make this?
I don’t have a good reason. I have a sickness. Maybe someone else out there has this disease too?
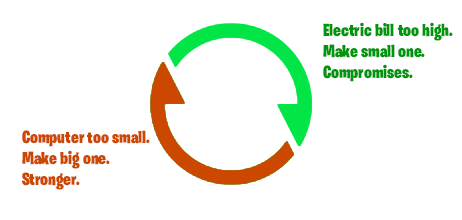
And so, every year or so, I go through this cycle, and no matter the cost, attempt to construct something that either “isn’t too much more money on electric” and “isn’t so small I can’t do anything with it”. This year, we’re on the green side. ???? I can’t tell you it wont go back to orange next year; I can’t be cured!
Lets start.
This is going to be a bit picture heavy. Sorry limited data users.
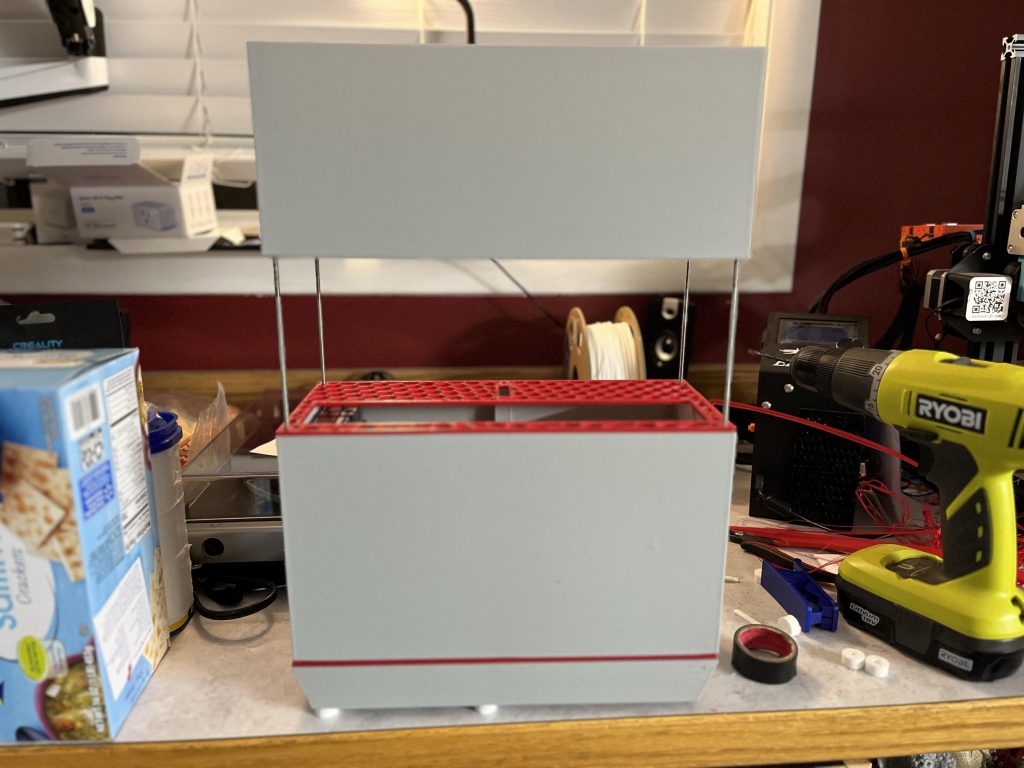
Level 1 – The Base
What’s included?
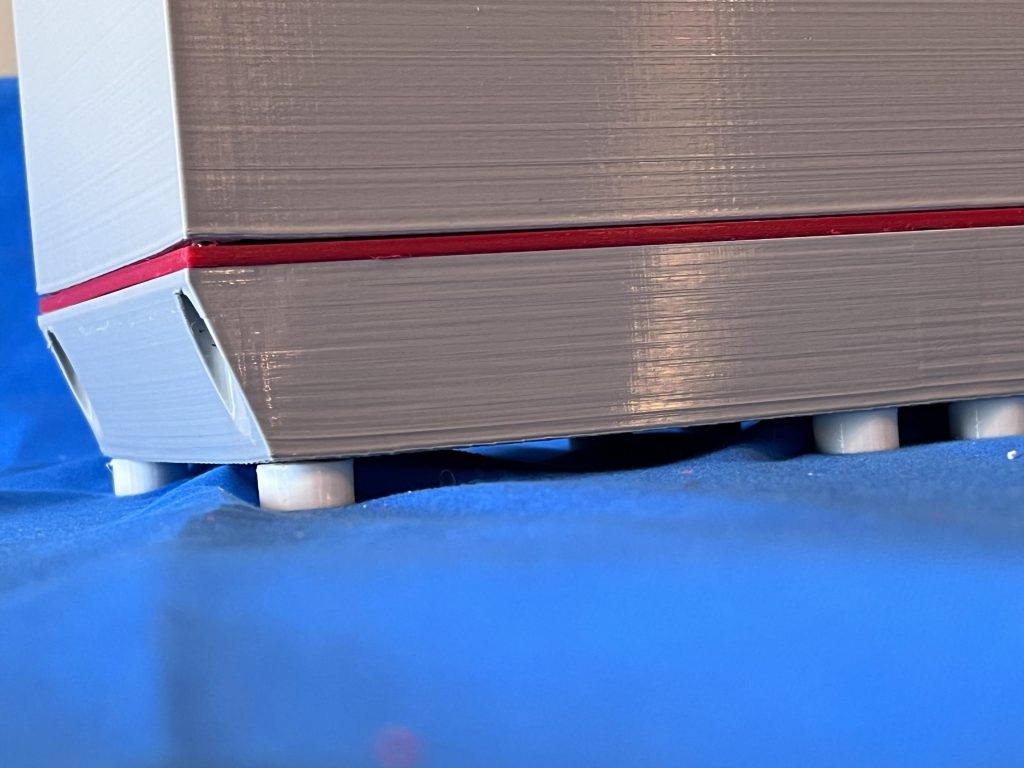
- 8 TPU footies Screwed into the Fans via the bottom. (Regular fan screws supported)
- The Base Unit itself.
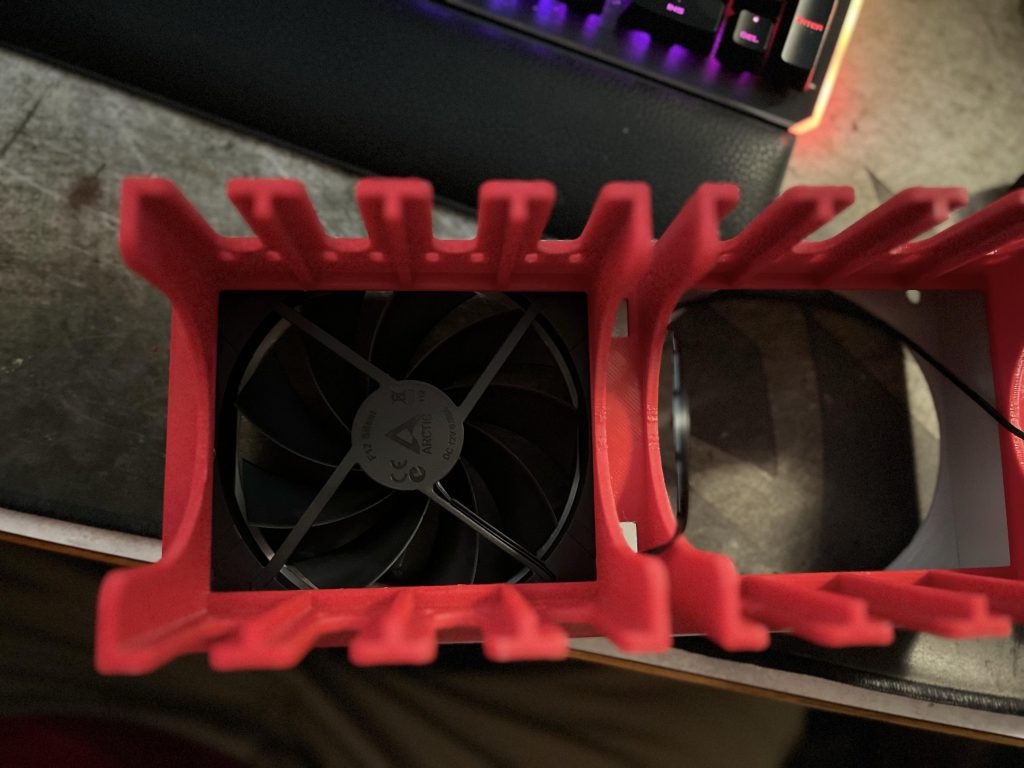
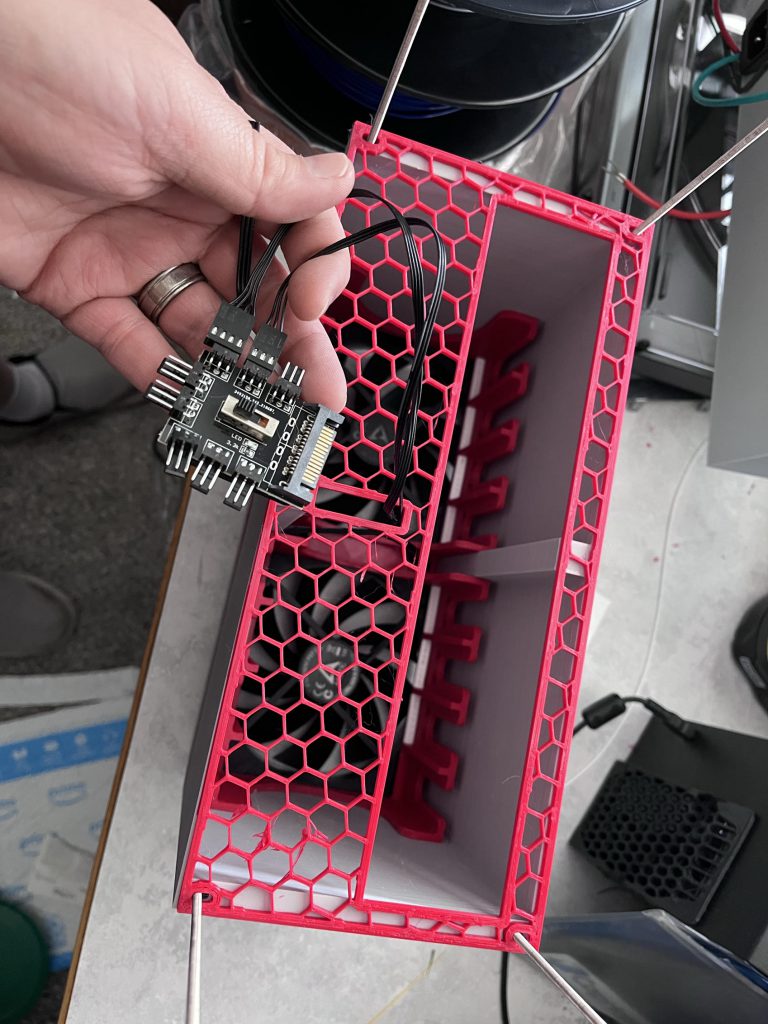
- Dual 120mm fans (oriented so cool air is pulled in from the bottom).
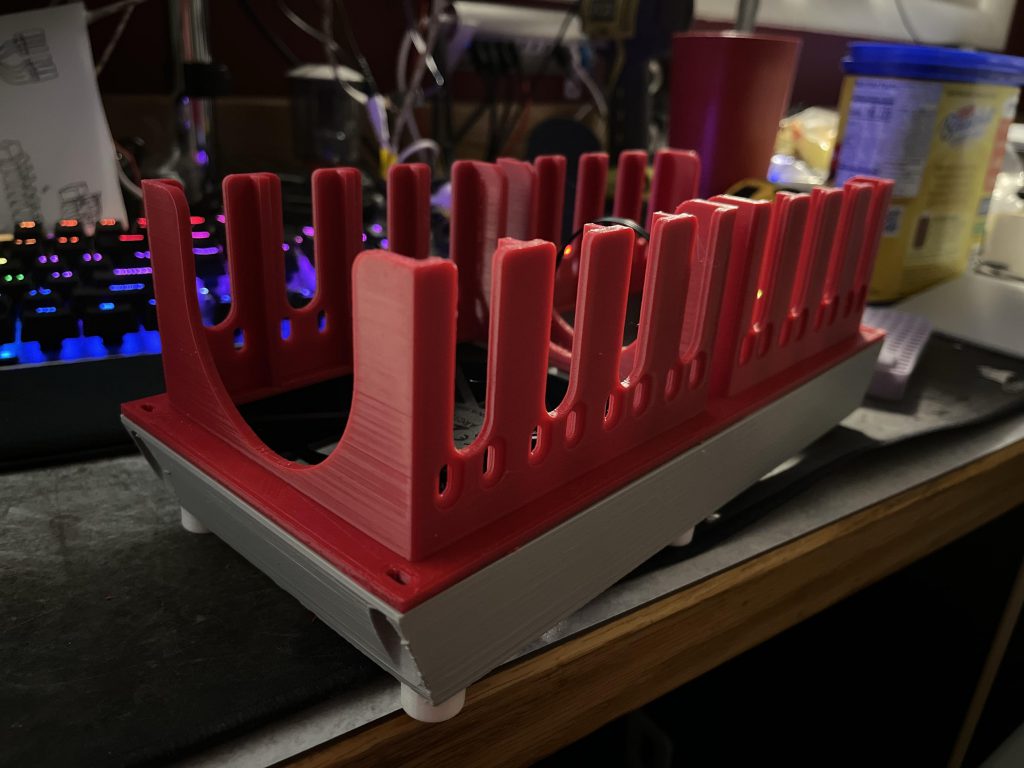
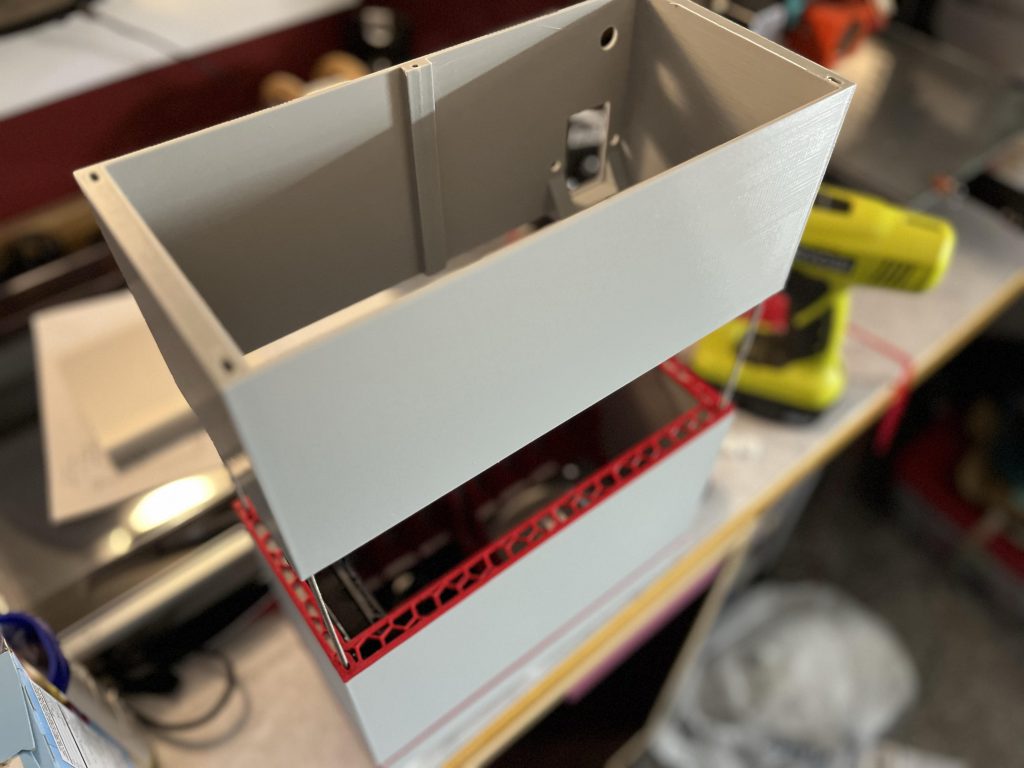
Level 2 – The Drive Cage & Shell
What’s included?
- The red drive cage and base floor is a single piece. Some wiggle room is included for poor printer spec tolerance.
- Little TPU strips that rest at the bottom where each drive will reside.
- Print extra strips to use as horizontal tighteners so hard drives don’t wiggle at all, and are insulated by TPU further.
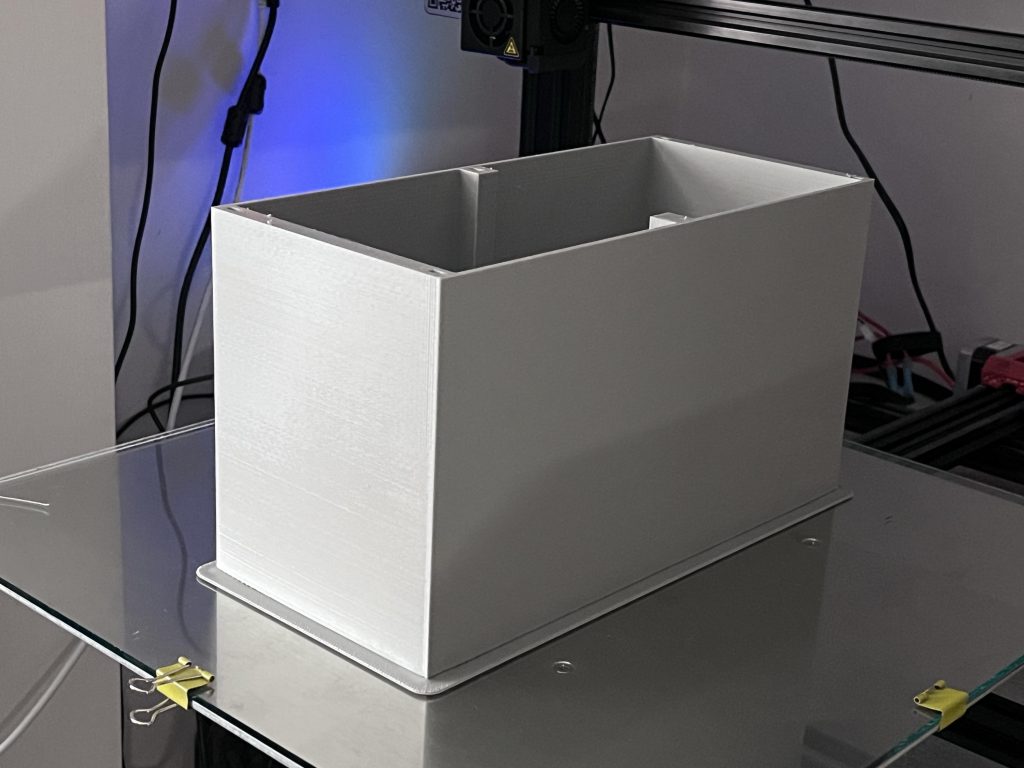
- Of course, the massive shell, being the largest print of the project. A raft or some serious brim is required to not have corners peel. (I should have rounded them, in retrospect)
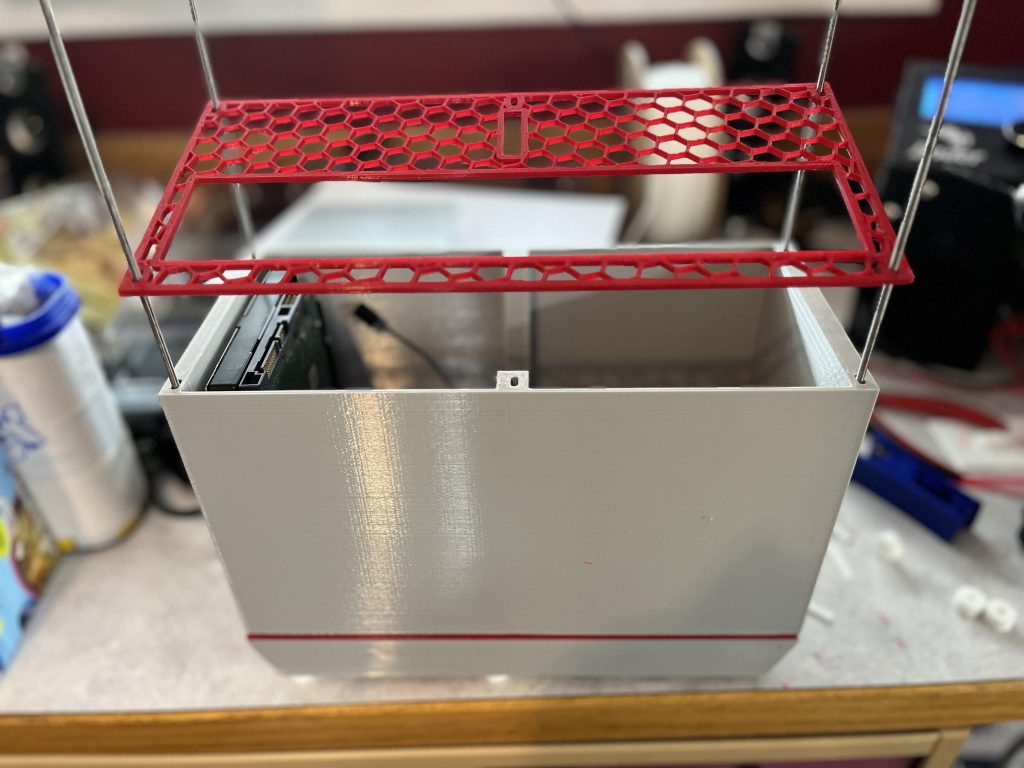
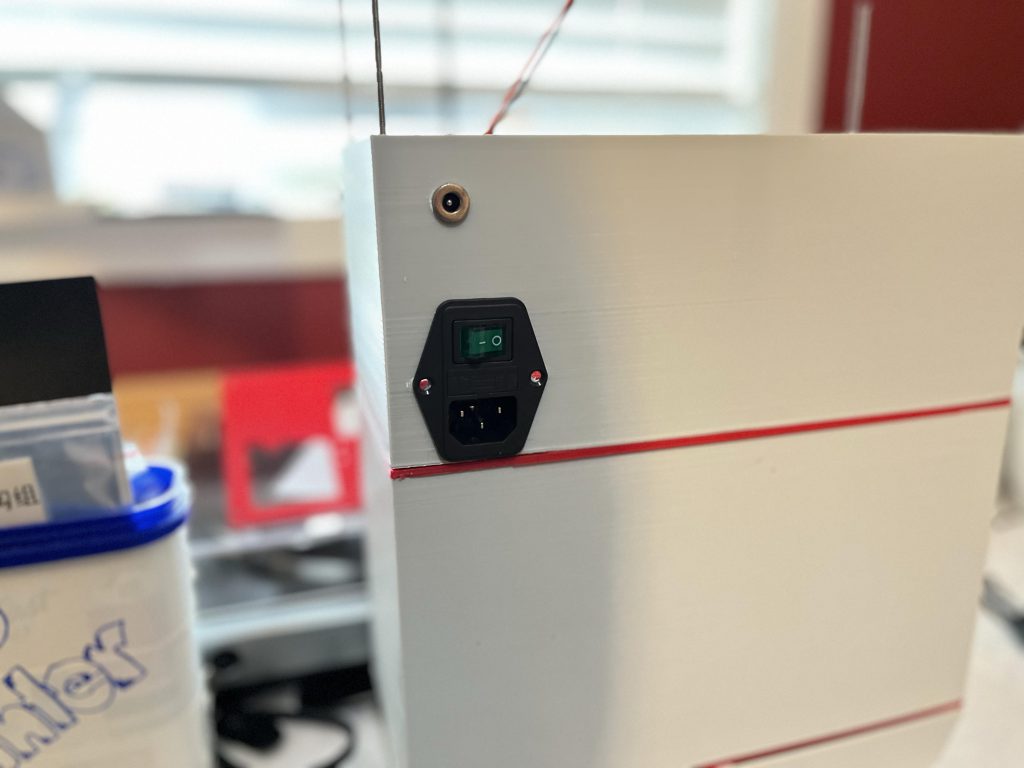
Level 3 – The Power Haven
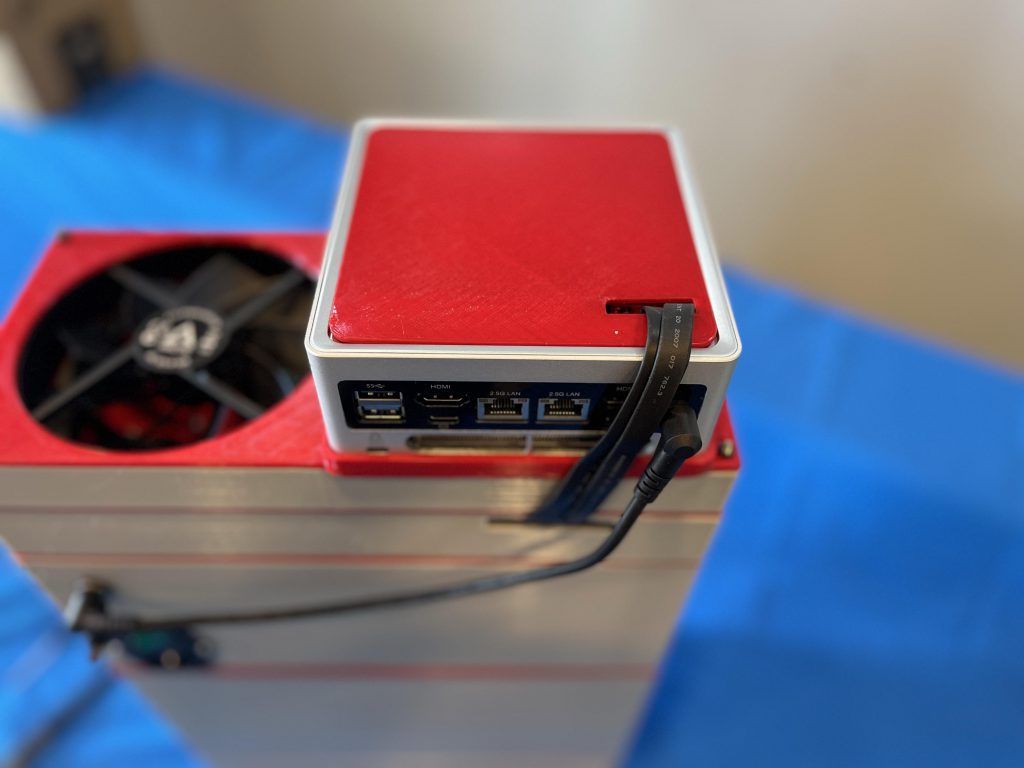
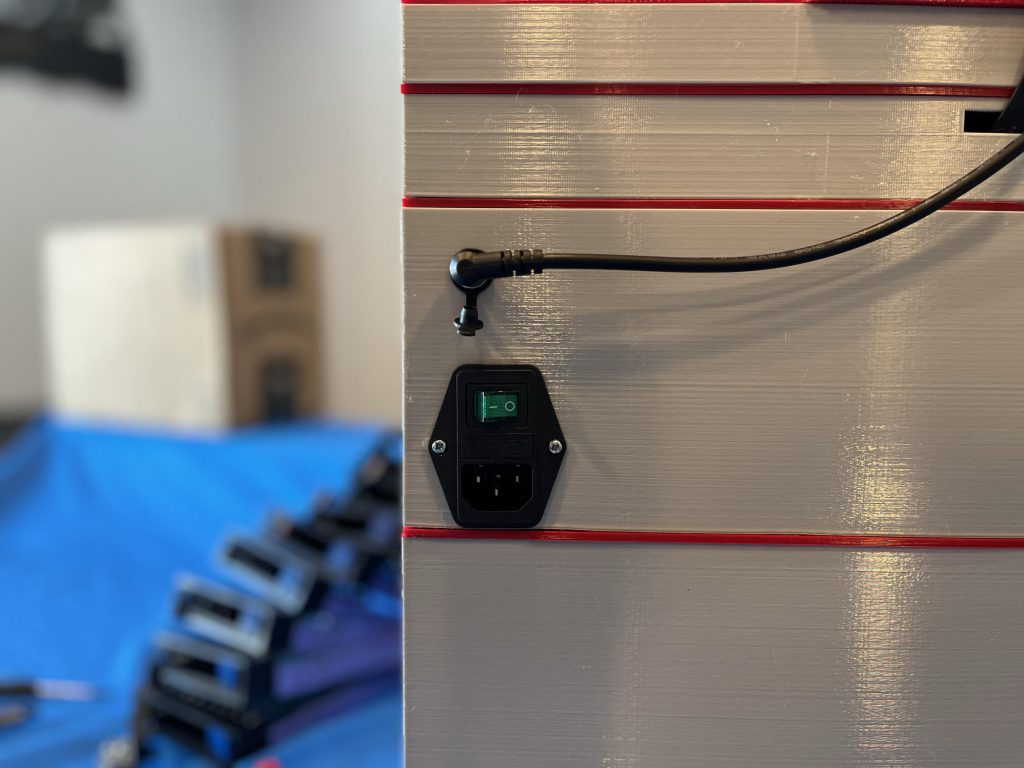
- Another cage, this time with a re-enforced empty square. This is where the plug for the on-off toggle switch will be. You’ll also notice another hole above that. That is where the DC barrel connector will plug the NAB6 Mini PC (so it can get 19v directly from the unit’s power supply; More on that later.
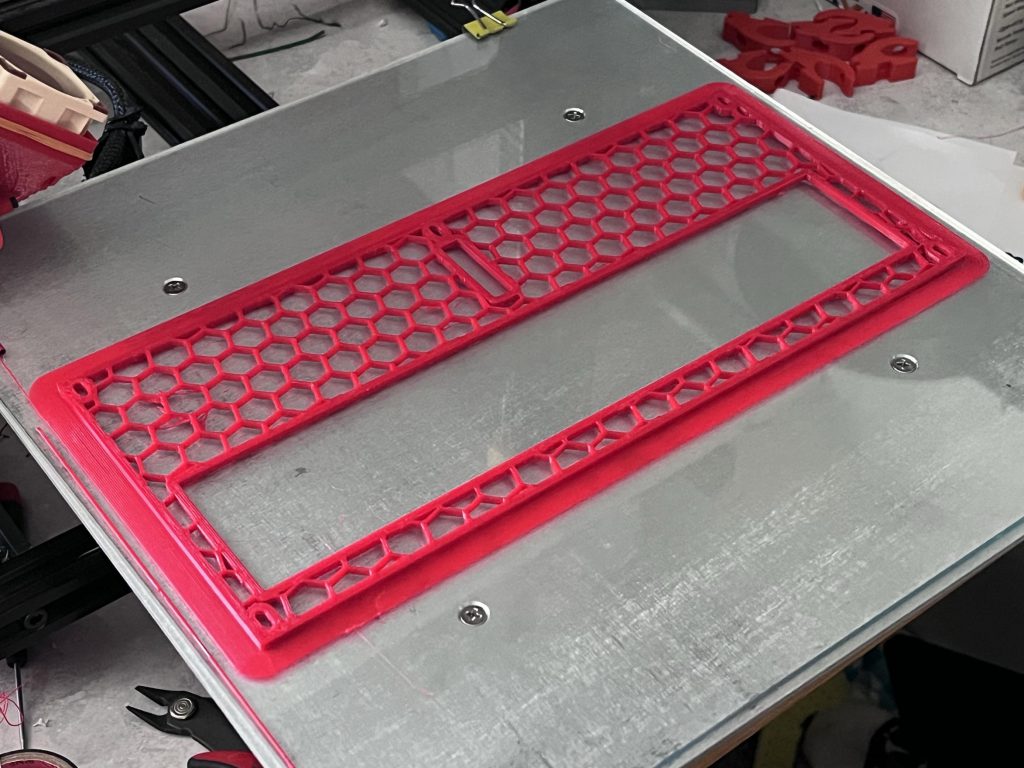
- The Red honeycomb piece is also on this level. It has a large rectangular opening so that the power and data plugs and cabling will easily be managed for the hard drives.
- This looks empty, but bear with me — all the power is going to hang from the next level!
Level 3b – The Suspended Power
- The red platform of 3b helps you suspend all the power required for the project.
- The Large power supply is an AC to DC converter, similar to what 3D printers might use. The AC mains connect here after going through the power switch toggle on Level 3.
- The vertically hanging object with the red triangle wall to suspend on is the 19v step-upper block. It takes 12V in, and converts it to 19V out. This particular block is capable of 8Amps, which is more than enough for the 6.3A max the NAB6 can suck down when in turbo-burst (which we’ll disable in Windows by setting max CPU level to 99% anyway for large gains in power savings).
- The smaller unit sitting on the ceiling is the 5V down-stepper. It takes 12V in, and outputs 5V. We will end up using the 5V + and – for two of the lines that the 5-port SATA splitter requires. (The other 2 lines on the SATA splitter wants 12v + and -, which we’ll give by attaching to a 12v + and – terminal).
- Also, somewhere in here you can put the little Sata Powered Fan splitter / Controller. I set them to low; All my drives are running between 27-35c according to crystaldiskinfo.
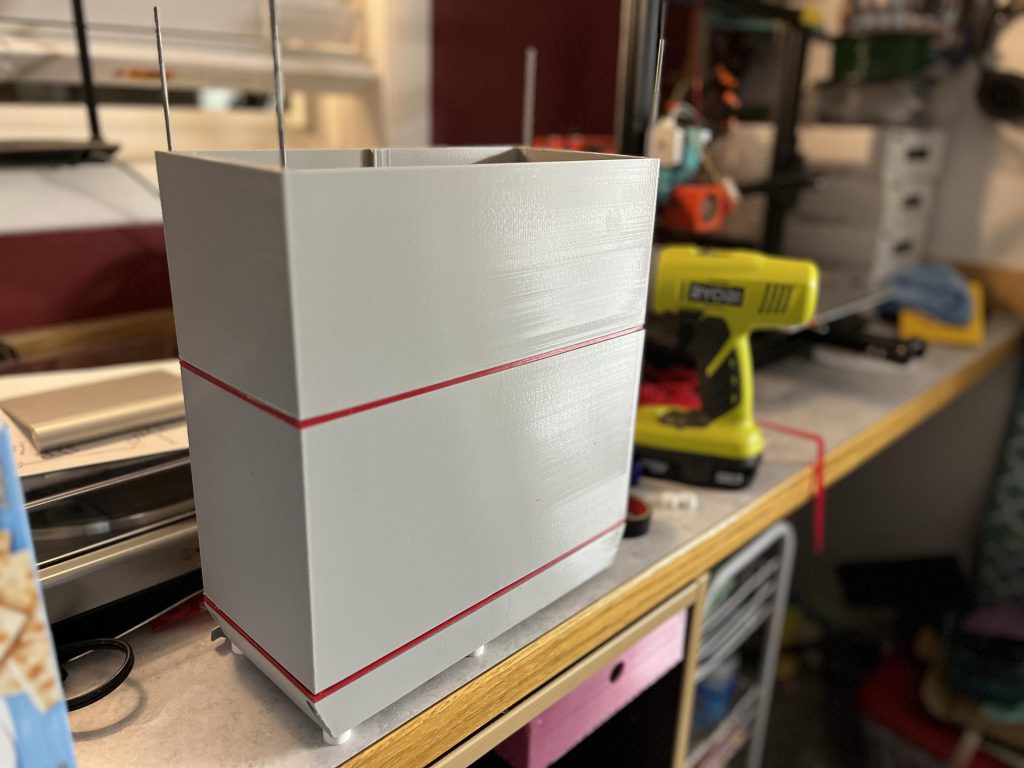
Level 4 – “The Rest”
This is a few simple “final” pieces.
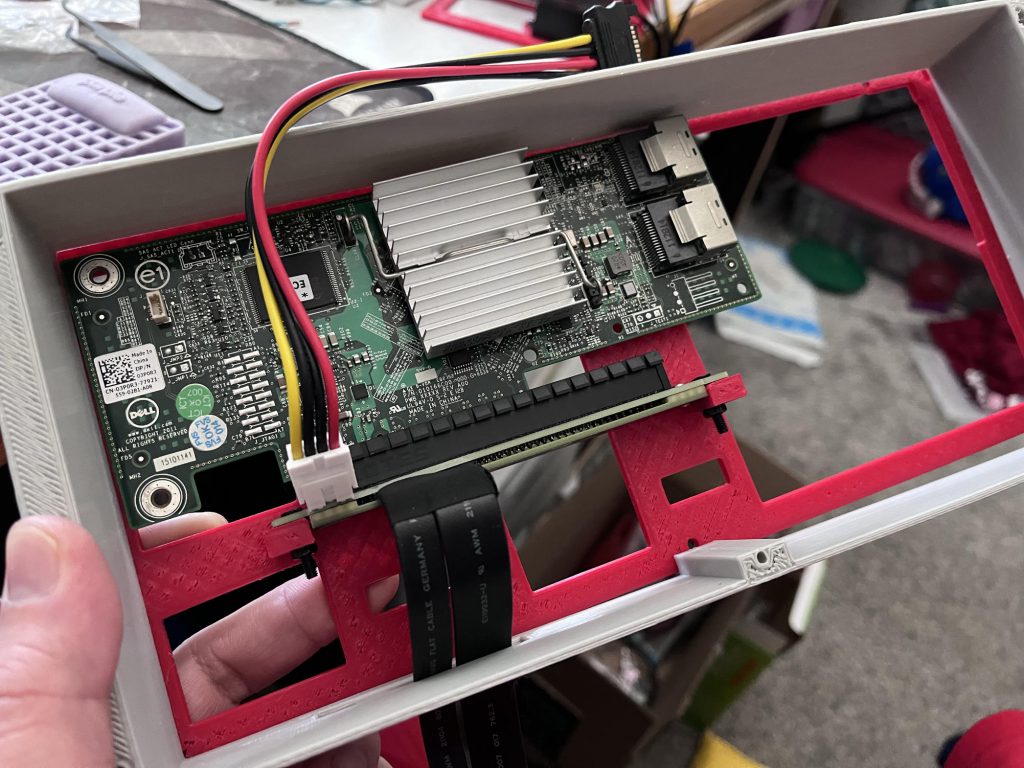
- The first outer shell. (This houses the PCIE Card (I’m using a Dell LSI 9xxx series SAS card, which you can buy used on ebay for under $20-$30 easily. There’s a slit on the back for the pcie ribbon cable to escape the chassis.
- The red “SAS suspension” layer holds the sas card horizontally in place.
- The second outer shell houses the fan, and makes terrible use of space on the other side (it’s empty under the NAB6. In retrospect, this is probably fine, so the NAB6 can get some intake air (from you know, all the hot stuff below, lol).
- Finally, the perfectly measured NAB6 throne. It’s a mild pressure fit — you can stick a piece of paper or two in the rim to make it tighter if your printer is super honed in.
The end.
DOWNLOADS
– Thingiverse link [pending preparation]
TIMELAPS OF BUILD
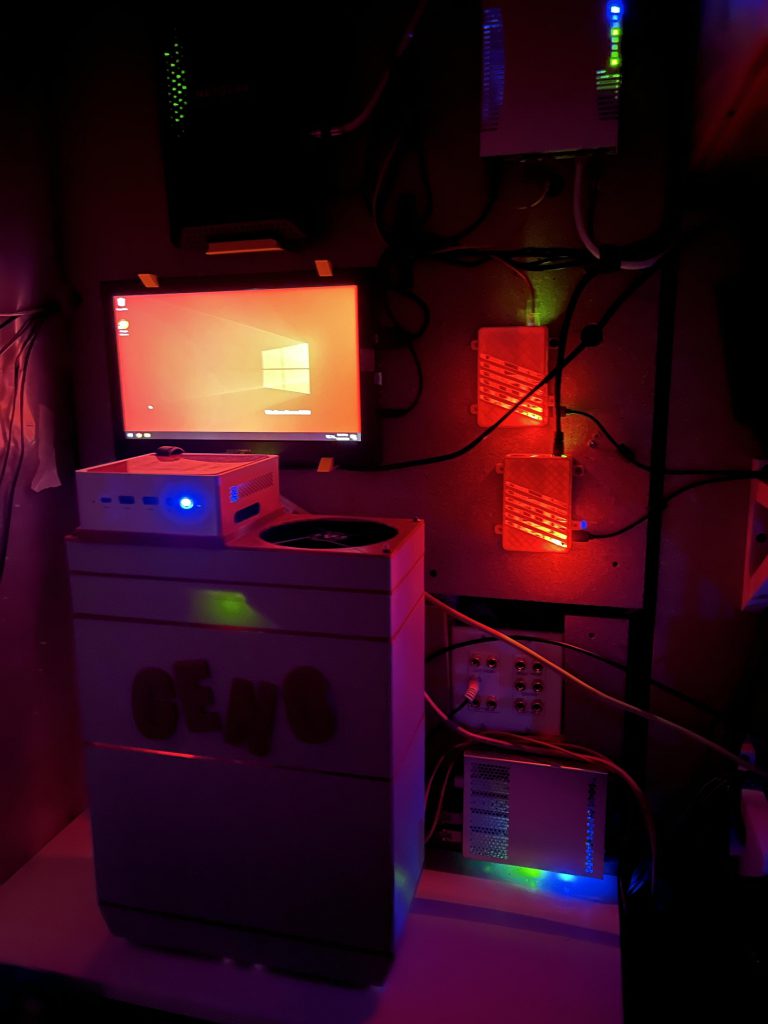
More Final Images:


Questions?
Have at it in the comments. Don’t tell me the build is stupid. I already know it doesn’t have a reason to exist. It had to happen though. 🙂
Hello!
Really interesting build!
I wonder how did you connect the pci storage expansion card. I cant understand it.
Congratulations!
very cool, but you also should start going to the gym