This has been the best upgrade I’ve done so far.
As your Google searches have shown, several zillion people have sworn up and down that a Glass print bed makes all the difference, followed by a paragraph of text talking about Elmers glue sticks, hairspray, etc etc in order to get your prints to stick to glass.
No thanks. The Ender 3 has a heated bed, and I plan to use it.
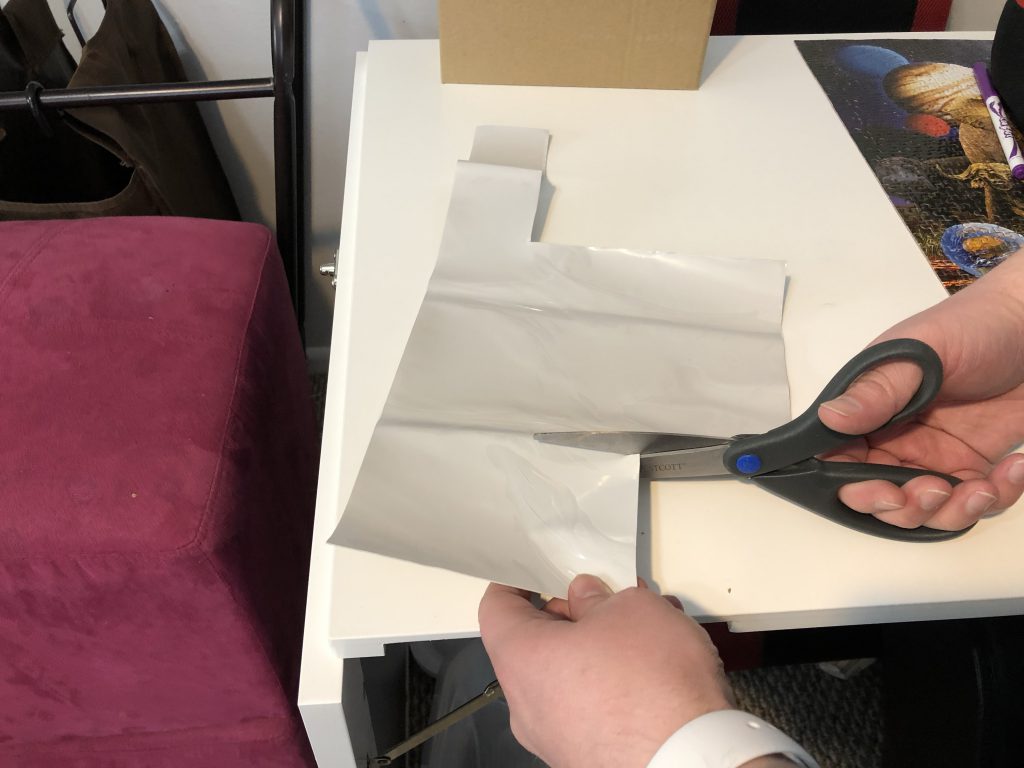
Queue the following NICHE solution that I only saw a handful of online: Thermal Heat Transfer Pads. This one I linked to is a HUGE one for $8 (at the time of writing).
It comes with plastic on both sides (so you don’t jack it up, cause it’s easy to tear), and I cut it up into 3-inch Squares…
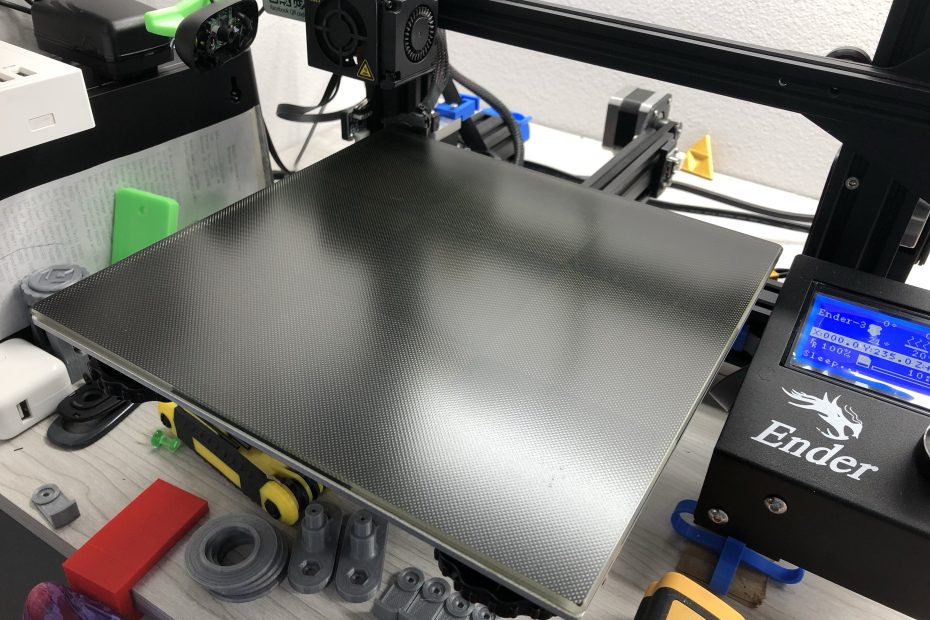
Once you’ve got the 3 inch squares, adhere it to the BACK of your piece of glass (I got this piece of glass, but really, any 235mm x 235mm glass piece should work). Put one in each corner, and one in the middle.
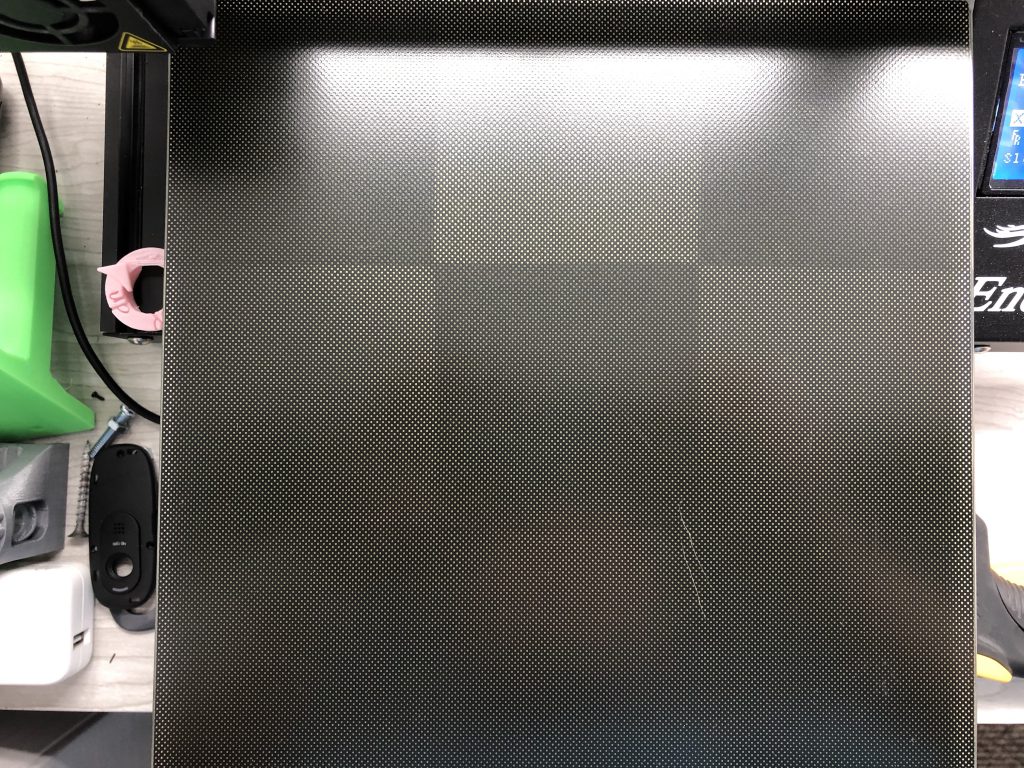
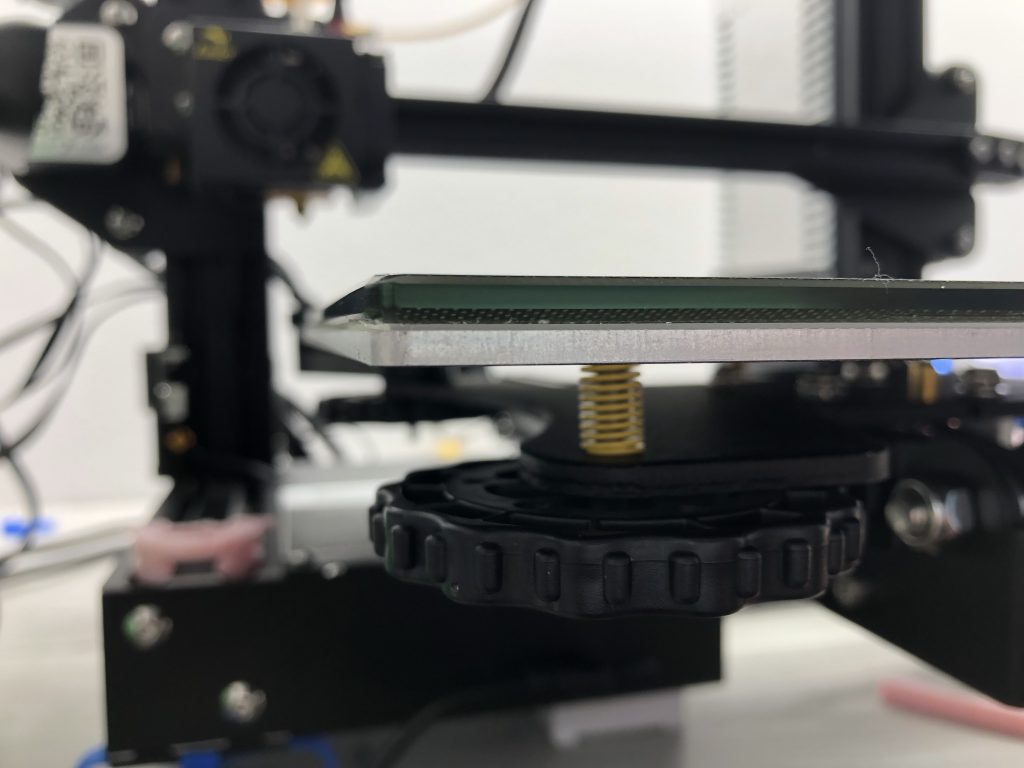
This is what it will look like after you have placed it on your printer bed. (NOTE: Remove your clips, allowing you to simply remove the Ender 3 stock pad; These Thermal Heat Transfer Pads will sit directly on the aluminum plate underneath — removing the Ender 3 pad is easiest when cold, as it just slides right off.)
No clips needed; The thermal pads are very adherent to the aluminum.
Now, heat it up and test it out!
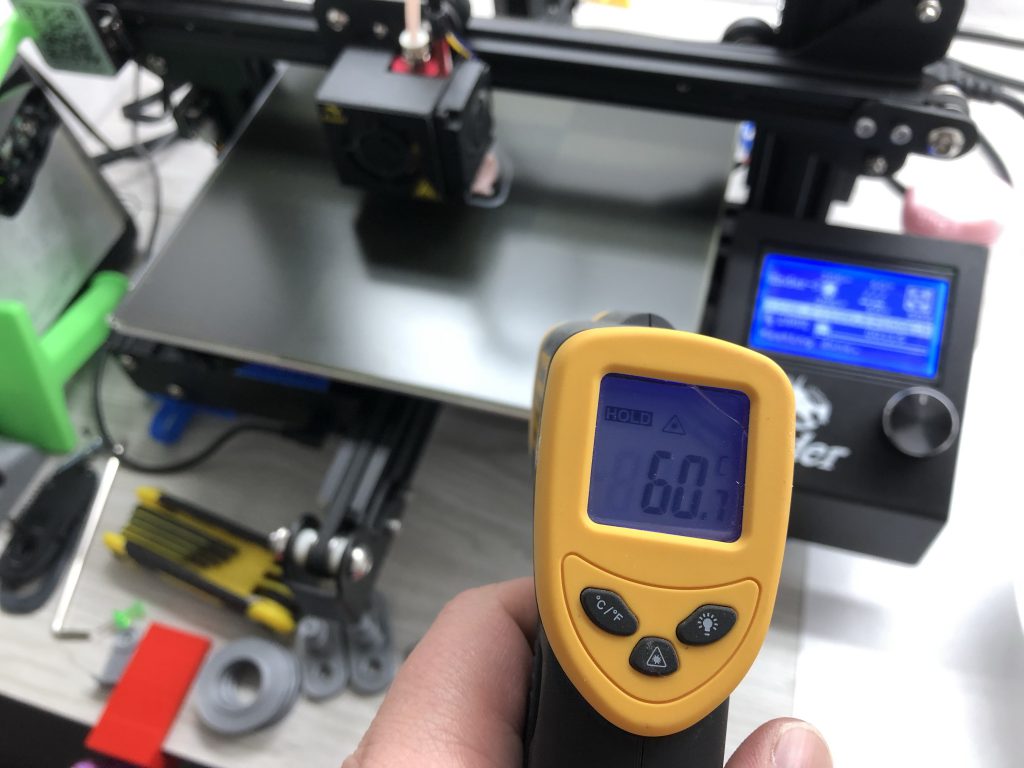
Heated to 60, and it made it to 60. I’m using Octoprint, which heats the bed first, followed by the nozzle (as opposed to heating them both at the same time). By the time the nozzle is done heating, the glass has received full 60 degree temps on the spots our heat transfer pads are located. The no-pad zones are usually a few minutes behind, but is usually close to 50 degrees by the time the print begins. Close enough. It eventually becomes ~58 degrees.
The stuff is extremely thin, so definitely be careful when applying.
Don’t forget to level your bed; I had to raise the Z-Home switch by a few mm to compensate for the glass, which is thicker than the stock pad. It was two screws and super easy.
Now, for the magic:
like make one of thoose